System Archive
Standard Data Feed
Astrophotography is not a shortcut around learning the sky. It is astronomy with a sensor, a mount, a weather problem, a power problem, a patience problem, and finally a processing problem.
This guide is for Indian beginners who want to photograph the Moon, constellations, Milky Way, planets, nebulae, or galaxies without burning money in the wrong order. Before buying anything serious, read the beginner astronomy guide, check your sky using the Bortle Estimator, and understand why the Bortle scale matters. Your camera records photons, but your location decides how many useful photons survive.
Start With The Target, Not The Gear
The gear path changes depending on what you want to image. The Moon is forgiving. Star trails need only patience and a tripod. The Milky Way needs dark skies and timing. Planets need focal length, video capture, and stacking. Nebulae and galaxies need tracking, calibration, processing, and a sky that does not drown the signal. If you begin with a product page instead of a target, the purchase will choose the hobby for you.
| First target | Good starting setup | Main skill | Common trap |
|---|---|---|---|
| Moon | Phone adapter, DSLR, or small telescope | Focus, exposure, timing, sharpness | Overexposing the bright lunar surface |
| Star trails | Phone/manual camera or DSLR on tripod | Interval shooting, battery planning, composition | Weak tripod and foreground light leaks |
| Milky Way | DSLR/mirrorless, wide lens, tripod, dark site | Manual focus, exposure length, Moon planning | Trying from a Bortle 8 city terrace |
| Planets | Telescope, phone/video camera, tracking helpful | Video capture, stacking, seeing conditions | Expecting Hubble-like detail visually or photographically |
| Nebulae/galaxies | Star tracker or equatorial mount, lens/refractor, calibration frames | Tracking, polar alignment, stacking, processing | Buying aperture before mount quality |
The Indian Sky Adds Its Own Boss Levels
Astrophotography in India has real constraints: monsoon downtime, coastal humidity, winter haze, city LED glow, dust, dew, power cuts, terrace heat plumes, apartment storage limits, unsafe late-night sites, and long drives that end under clouds. None of this means you cannot image. It means your workflow must be honest.
Weather
Clouds, haze, humidity, and seeing decide more than camera specs. Use the Strategic Calendar before planning a night.
Sky Glow
A city sky can still do Moon and planets, but faint nebulae need darker sectors. Compare routes with Sector Recon.
Power
Batteries, dew control, laptop power, and safe return driving are part of the image. Ignore them and the night collapses off-camera.
A Practical Upgrade Path
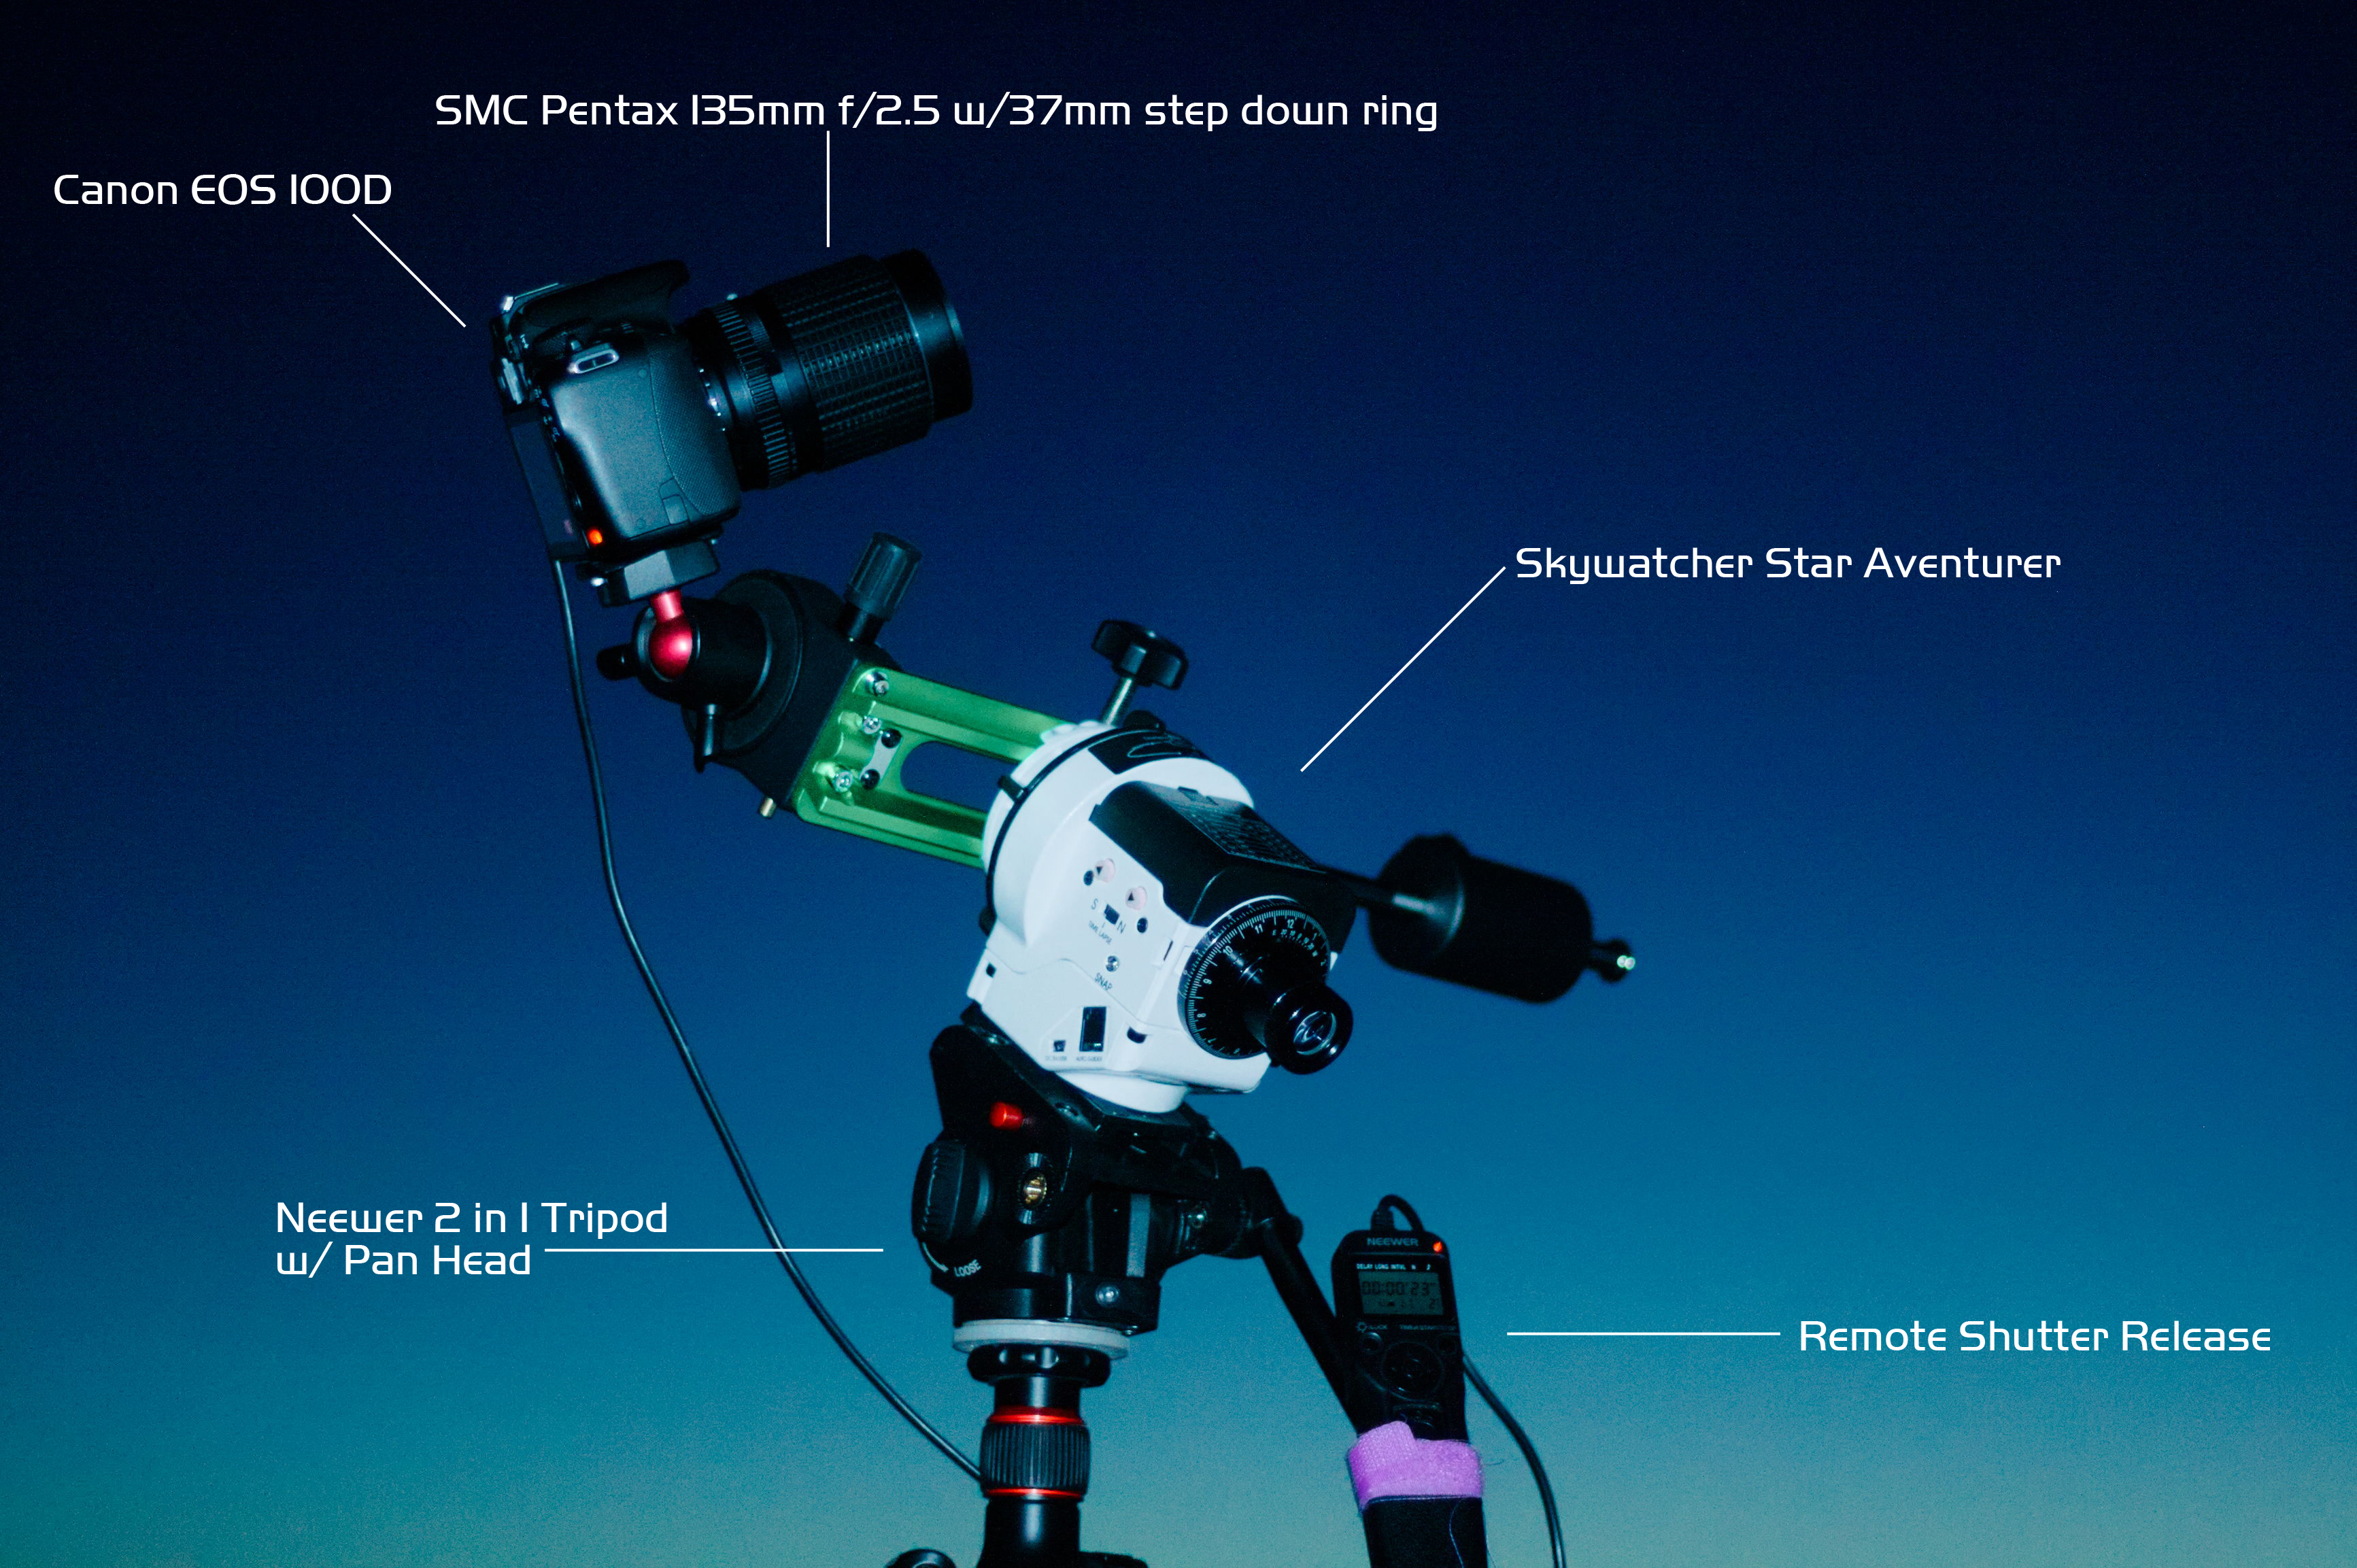
- Phone or DSLR on tripod: Moon, conjunctions, star trails, bright constellations, basic Milky Way attempts.
- Better tripod and remote shutter: fewer vibrations, cleaner framing, repeatable exposures.
- Wide lens and dark-site planning: Milky Way, meteor showers, landscape sky images.
- Star tracker: longer exposures with camera lenses, better Milky Way detail, brighter nebulae.
- Equatorial mount before telescope size: deep-sky imaging depends on tracking accuracy more than dramatic aperture.
- Small refractor or imaging Newtonian: only after you understand payload, focal length, field of view, and guiding.
- Cooled camera, filters, guiding, automation: useful later, expensive too early.
This is why the first telescope buying guide keeps warning against buying by spectacle. A visual telescope and an imaging rig are not always the same mission. If your goal is astrophotography, mount stability, tracking, payload, and field of view matter before bragging rights.
The DIY Barn Door Tracker Path
If you like building things, a DIY barn door tracker is one of the best beginner astrophotography projects. It is a simple hand-driven or motorized platform that slowly tilts a camera to follow Earth’s rotation. It will not replace a proper star tracker or equatorial mount, but it teaches the thing beginners most need to understand: the sky is moving, and your exposure length is limited by that motion.
A basic barn door tracker can be made with two boards, a hinge, a threaded rod or screw drive, a ball head, and careful alignment toward the celestial pole. More advanced versions use a stepper motor, Arduino-style controller, gears, or printed parts. In India, this can be a very practical learning path because parts are easier to source than premium mounts, and the project forces you to understand polar alignment, focal length, exposure time, vibration, and payload.
Barn Door Reality Check
Good for: wide-angle Milky Way, constellations, learning tracking, low-cost experiments, and understanding why mounts matter.
Not good for: heavy telescopes, long focal lengths, deep-sky galaxy work, unattended all-night imaging, or expecting commercial-mount precision.
Build one if the build itself excites you. Skip it if you only want quick results. A barn door tracker is not a shortcut; it is a workshop lesson. But for the right beginner, it can be the bridge between tripod-only images and understanding why a real tracking mount is worth respecting.
Use The Calculators Before Buying
Before buying a telescope, camera, reducer, eyepiece, or mount, run the numbers. Use the Field of View Calculator to understand framing. Use Aperture Lab to compare light gathering and expectations. Use the Exposure Analyzer when planning camera settings. If you are using a Newtonian, learn the Collimation Protocol before blaming the camera.
Beginner Capture Missions
- Moon discipline: shoot the Moon at different phases and learn exposure control.
- Star trail session: fixed tripod, many short exposures, one foreground, one clean sequence.
- Constellation frame: Orion, Scorpius, Cygnus, or the Southern Cross from a suitable horizon.
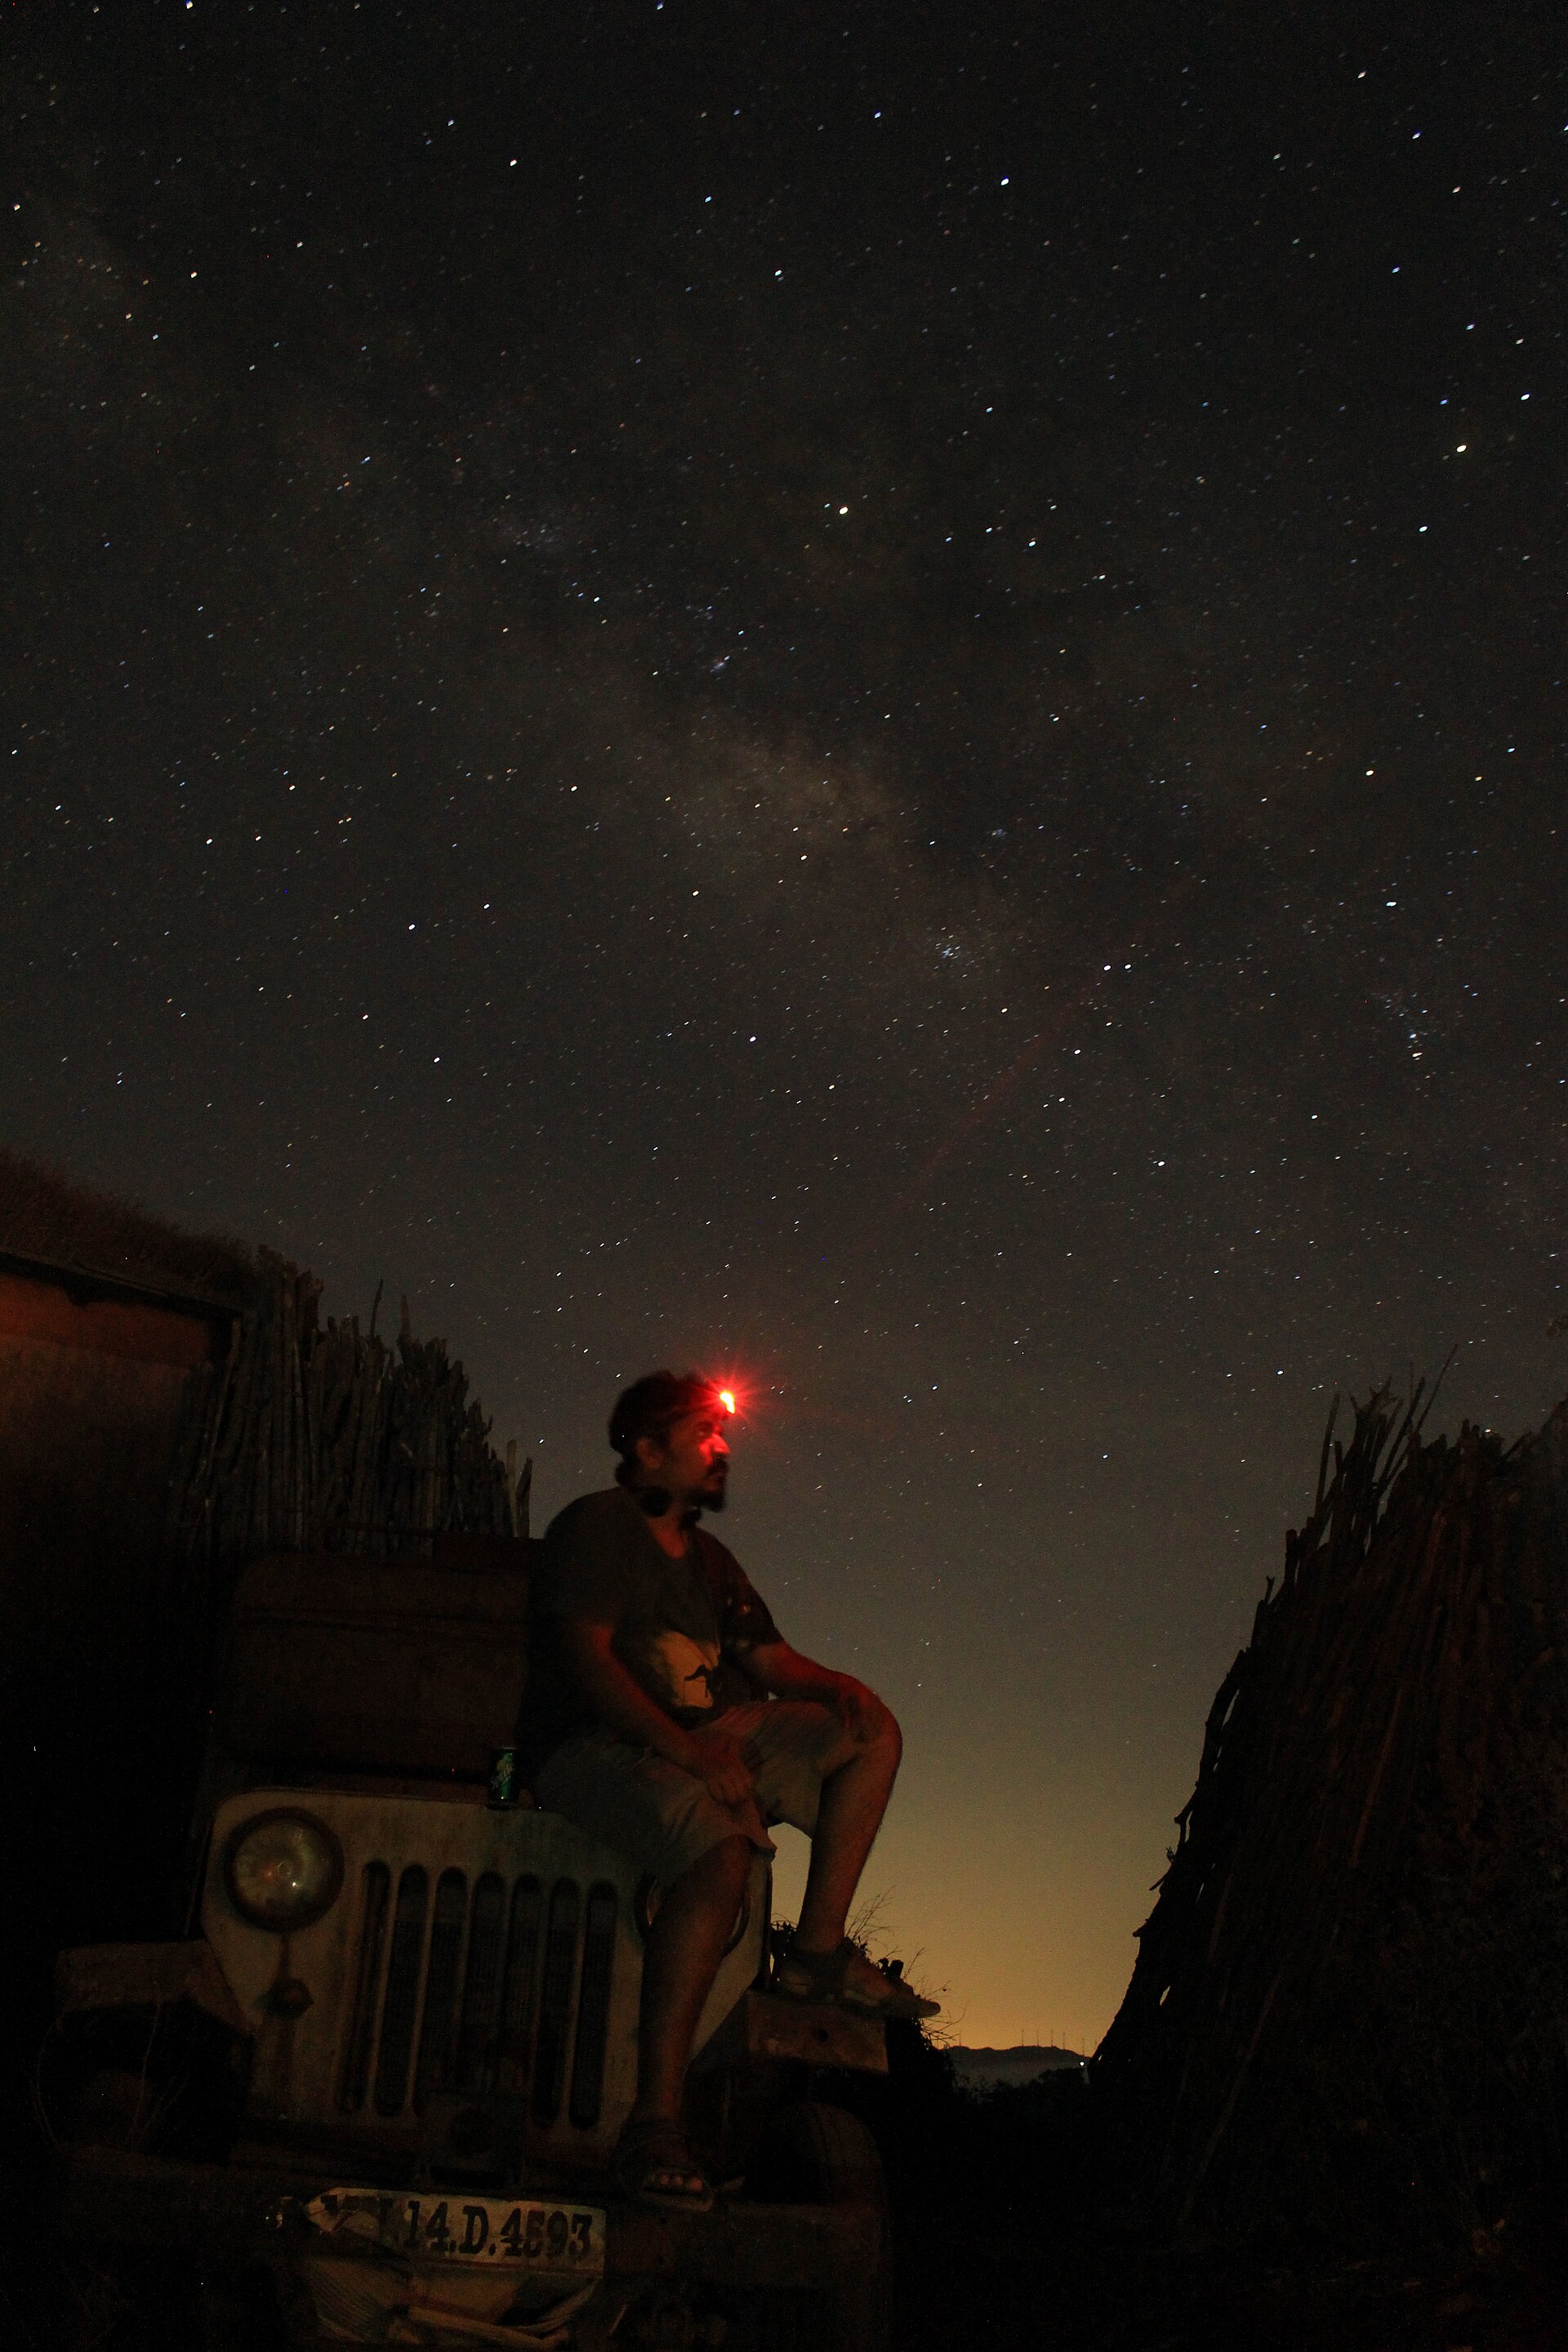
- Milky Way attempt: moonless night, dark site, wide lens, careful focus, foreground planned in daylight.
- Planet video: capture Jupiter or Saturn video through a telescope and learn stacking.
- Tracked wide field: use a star tracker for a bright nebula or star cloud before jumping to small galaxies.
Processing Is Part Of The Telescope
The image is not finished when the shutter closes. Stacking, calibration frames, colour balance, gradient removal, sharpening, and restraint are part of the craft. The beginner danger is overprocessing until the sky looks radioactive. Keep notes. Save raw files. Learn what darks, flats, and bias frames actually fix. Compare each result to the previous attempt, not to a NASA press release.
When you capture something you are proud of, submit it through Visual Intercept Submission and keep your observing record in Mission Log. AstroNotYet should not only teach you what to buy. It should help you build a history of your own sky.
Next signal: choose one target, check the Strategic Calendar, frame it in the FOV Calculator, and run one simple imaging mission before buying the next thing.
You do not become an amateur astronomer by buying a telescope. You become one the first night you stop treating the sky as background and start asking what you are actually seeing.
This guide is for the person who is astro not yet: curious, slightly overwhelmed, maybe searching from India after seeing Jupiter near the Moon, a meteor shower headline, a telescope ad, or one impossibly good Milky Way photo. Start with the Newcomer Start Here page if you want the site-level orientation. Stay here if you want a first observing plan you can use tonight.
Start From Your Actual Sky
Your first observatory may be a terrace in Mumbai, a balcony in Pune, a society compound in Ahmedabad, a college ground in Bengaluru, a village field in Maharashtra, or a roadside clearing outside your town. Do not wait for the perfect dark site. Begin where you are, then learn what that sky can and cannot show you.
On your first night, identify only three things: the Moon, one bright planet or star, and one pattern of stars you can return to tomorrow. Use a sky app as a map, not as the experience itself. Put the phone down often. Look long enough for your eyes and brain to start building memory.
The Three Conditions Indian Beginners Must Learn
| Condition | What it means | Beginner response |
|---|---|---|
| Cloud cover | The obvious blocker. If clouds occupy the sky, no telescope fixes the night. | Check before leaving. Use cloudy nights for planning, reading, and learning constellations. |
| Transparency | How clear the air is. Dust, haze, humidity, smoke, and pollution decide how faint the sky becomes. | Use the Bortle Estimator and compare nights from the same location. |
| Seeing | How steady the atmosphere is. It controls sharpness on planets and lunar detail. | If planets shimmer badly, reduce magnification or observe wider targets. |
Indian astronomy has seasons. Monsoon can erase weeks. Winter haze can make a clear sky look tired. Coastal humidity can soften everything. Summer heat can create unstable seeing over concrete terraces. This is not failure. It is field reality. The sky is not a screen; it is weather, air, light, patience, and timing.
Your First Seven-Night Mission
- Night 1: Find the Moon and note its phase. Sketch it badly. The sketch teaches attention.
- Night 2: Find one bright planet or star and identify it with a sky app.
- Night 3: Learn one constellation or star pattern visible from your home.
- Night 4: Run the Bortle Estimator for your location.
- Night 5: Check the Strategic Calendar and choose one upcoming sky event.
- Night 6: Try binoculars if you have them; if not, repeat naked-eye observing.
- Night 7: Write a short log: time, place, sky condition, what you saw, what confused you.
This is enough to begin. Not because it is spectacular, but because it creates the habit that all real observing depends on: returning to the sky with slightly better questions.
Do Not Buy A Telescope First
A telescope can be wonderful, but it is a terrible substitute for orientation. Beginners often buy too early, then discover that the mount shakes, the sky is hazy, the Moon is too bright for deep-sky targets, or the object they expected to see is not visible from their location. Read the first telescope buying guide before spending money.
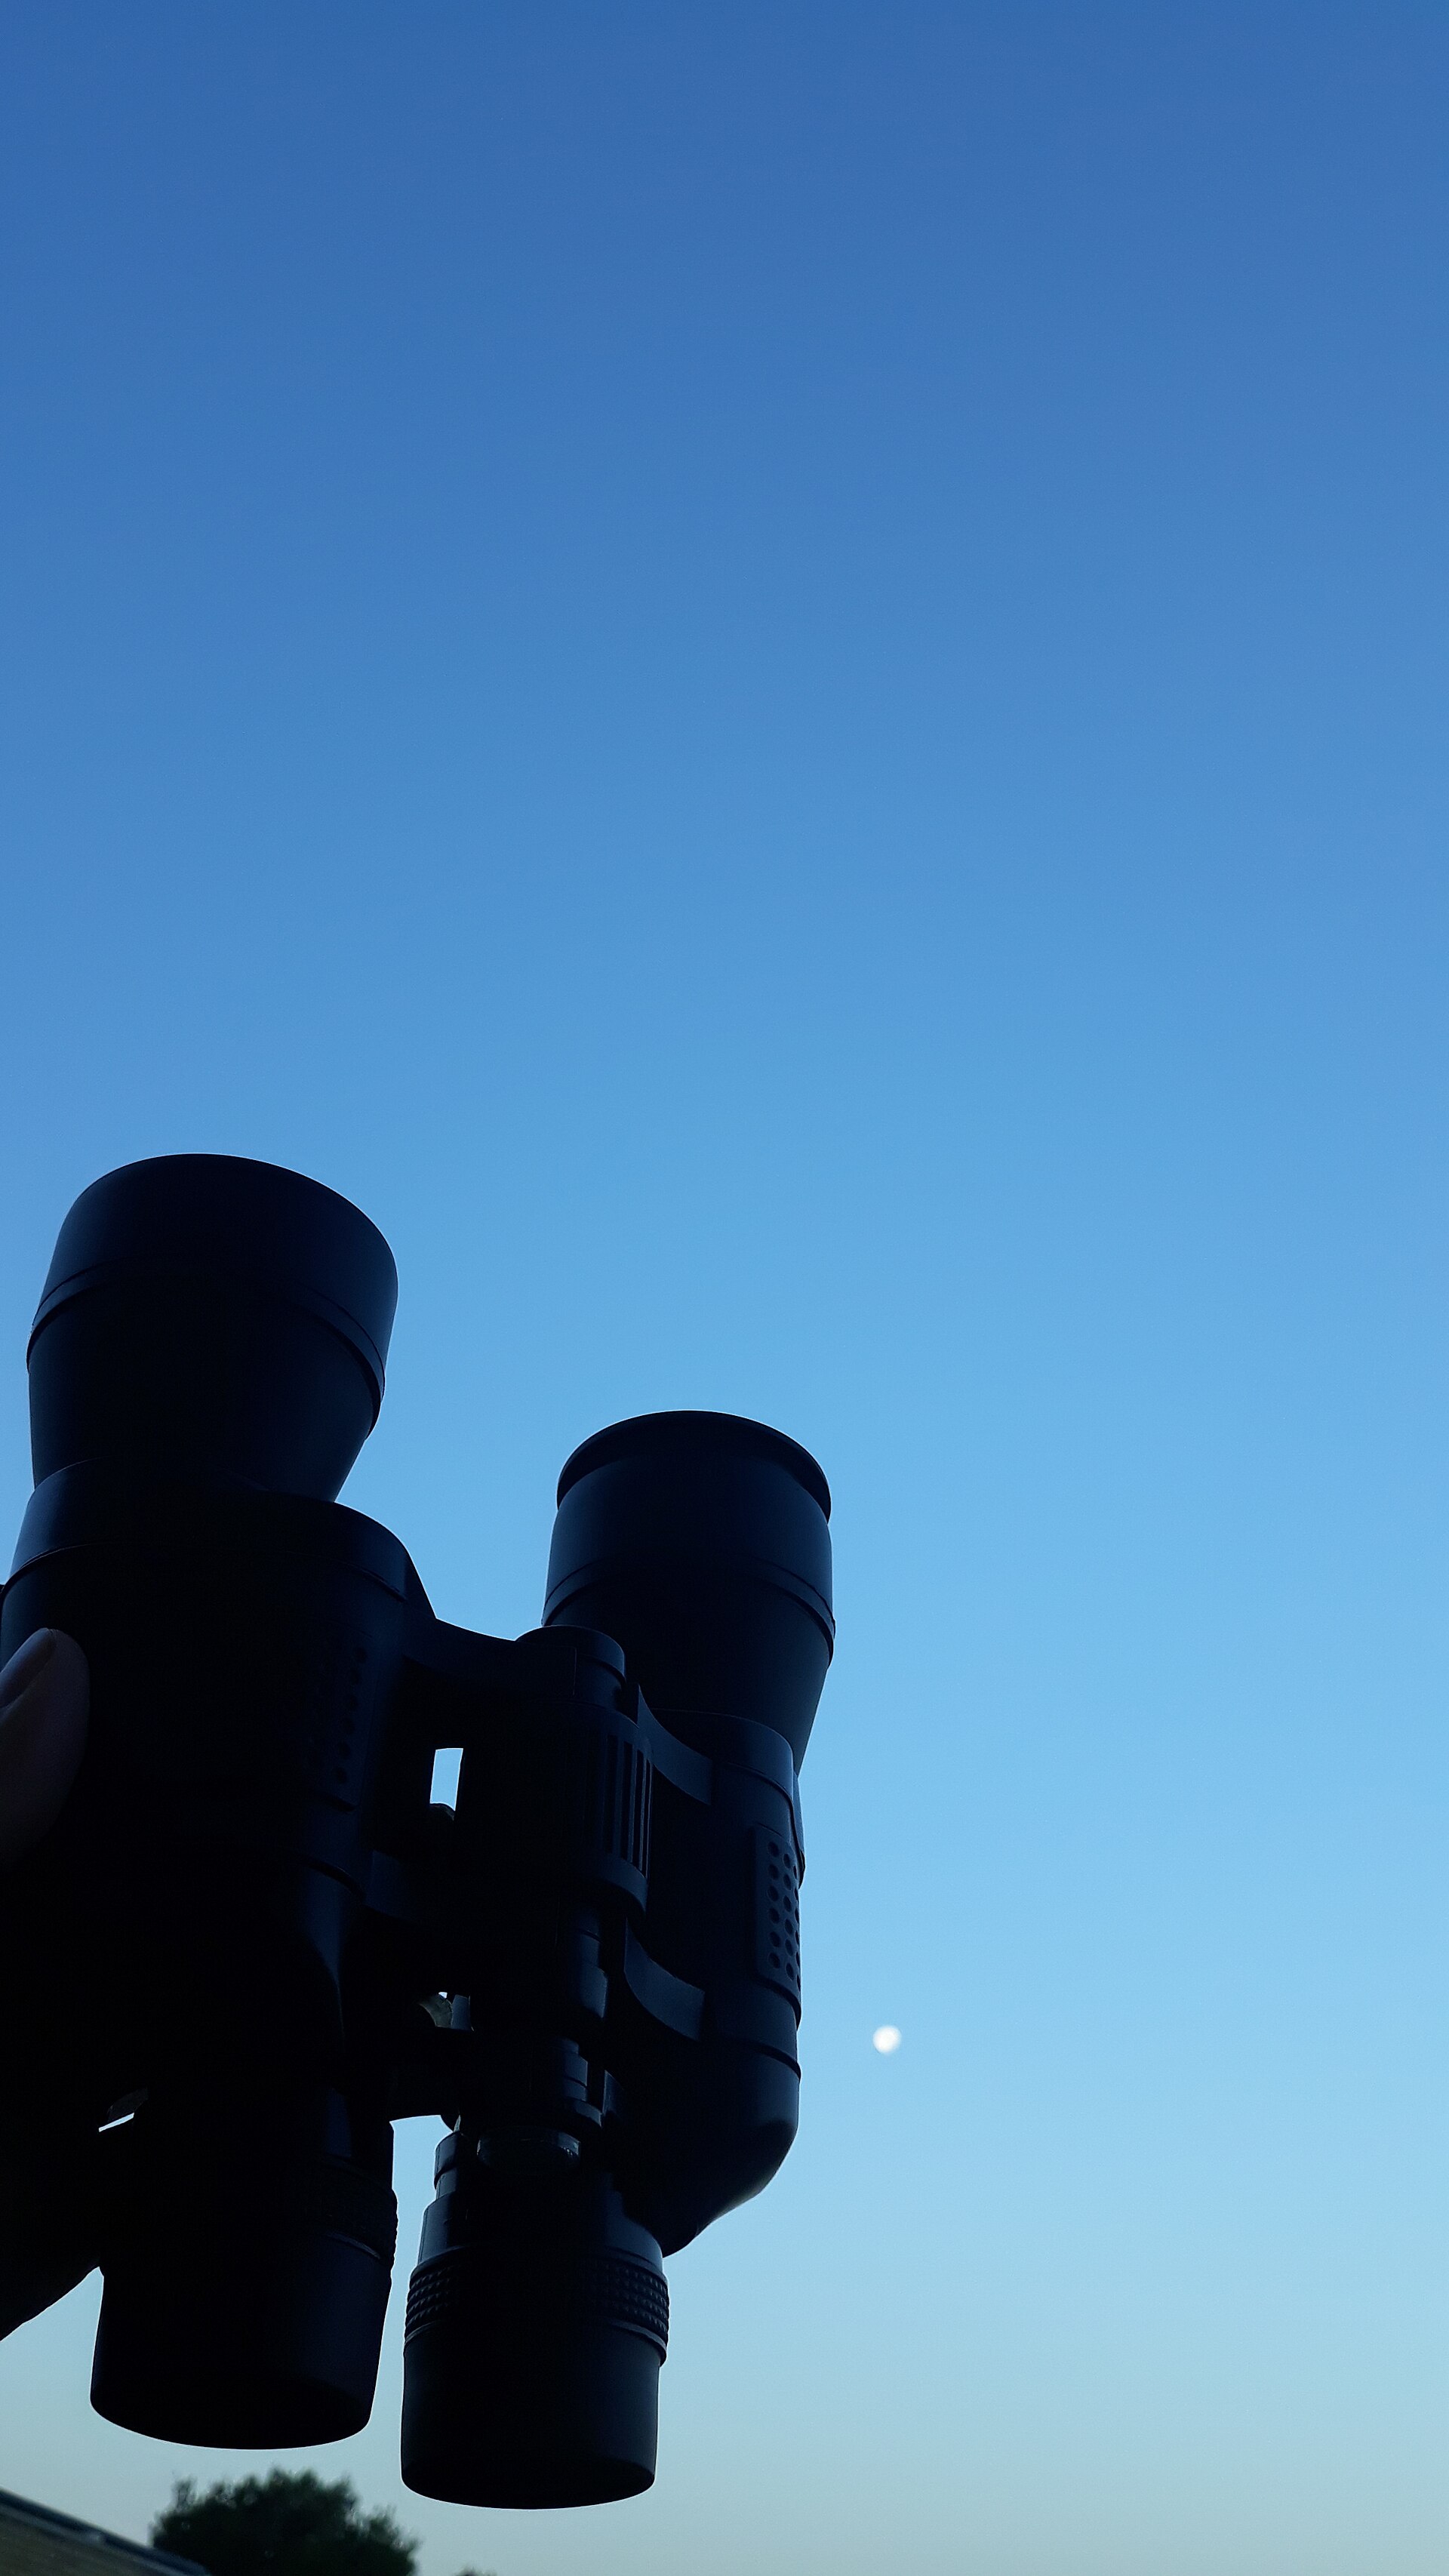
If you have 7×50 or 10×50 binoculars at home, use them. Look at the Moon, Pleiades, Orion, bright star fields, and the Milky Way from a dark site. If you do not own binoculars, that is also fine. Naked-eye astronomy is not a lesser version of the hobby. It is the foundation.
Use AstroNotYet As Your First Console
AstroNotYet is built for the threshold. Start at Start Here when you need the larger map. Use the Training Deck when you want tools and simulations. Use the Planetary Analyzer when a bright planet catches your eye. Use Sector Recon only after you know why a darker sky matters. The site is not meant to be consumed in one sitting. It is meant to become a field console you return to.
For the newcomer, the goal is not to sound like an expert. The goal is to notice more than you noticed last week. If you can do that, you have already crossed the line from “interested in space” to “beginning astronomy.”
Next signal: open Newcomer Start Here, run the Bortle Estimator for your home sky, then choose one night from the Strategic Calendar.